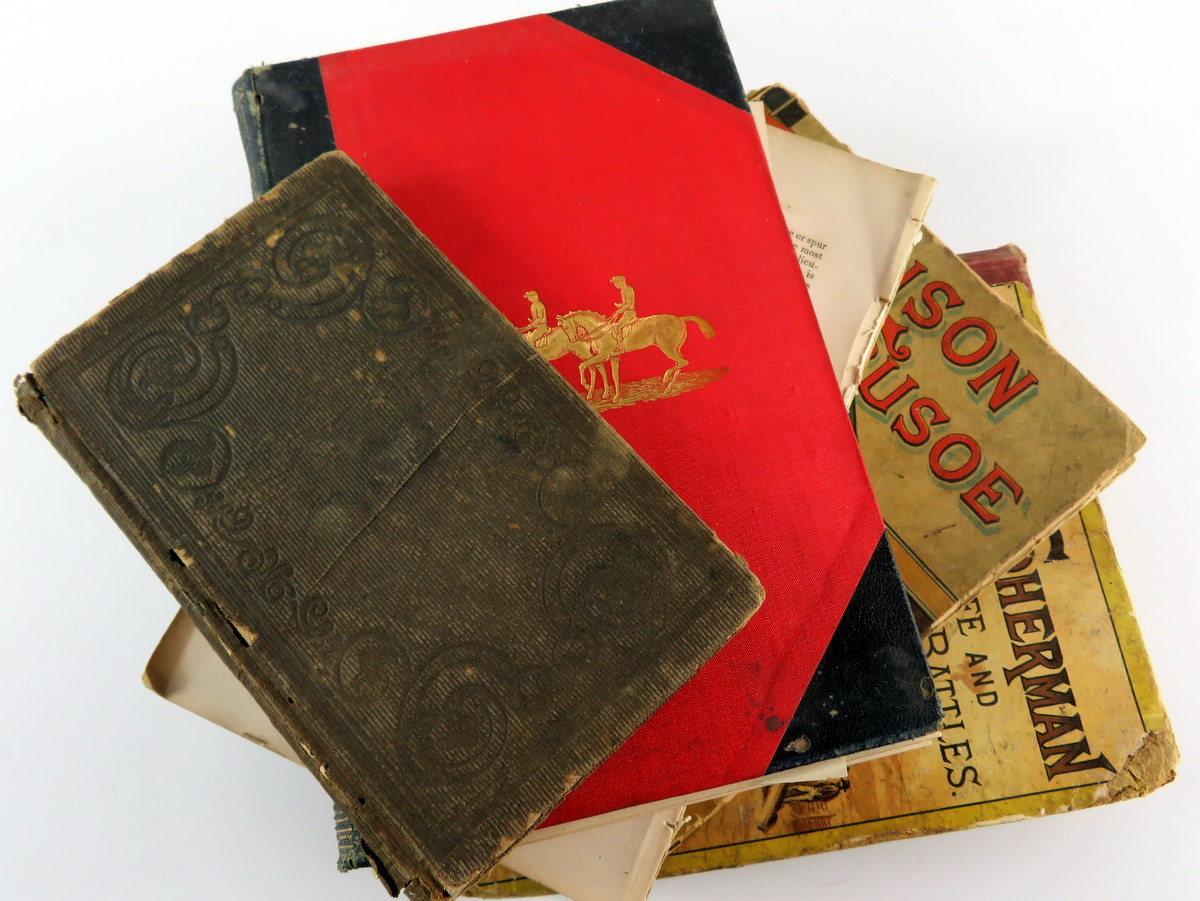
Start with an old book.
It can be any old book of course, but the ones I prefer a vintage book printed during the late 1800s to early 1900s. The pages are nicely aged to a warm tone, the printing method is usually letterpress, which has a little bit of texture (as opposed to modern printing which is flat on the page). There is a greater choice of pages according to the different sizes of the books. The paper is soft to the touch and accepts watercolor or acrylic paint and stamping ink evenly. It’s a nice medium for crafty projects.
Then there are the books I find, selected for the illustrations. Natural history books, botanical books, children’s story books, animal books. They have lovely pictures with bright colors. The paper is usually glossy or semi-gloss, and they are great for cutting out the figures, or used as they are for wall art.
Where can I find old books?
They may have been sitting in a thrift store, or in someone’s garage for a long time. Forgotten, or passed over for new books. Library discards. Estate sales. The perfect place is inside a house in a dry climate, as humidity will warp the pages and cause moldy spots.
The first thing I look for is hardcover books. Books with hard covers generally have the nicest paper quality, (paperbacks tend to be pulp with a lot of acid, and pages that age too darkly and turn brittle). And you can alter the outside front and back covers of a hardcover book for your junk journal cover. But that’s another article.
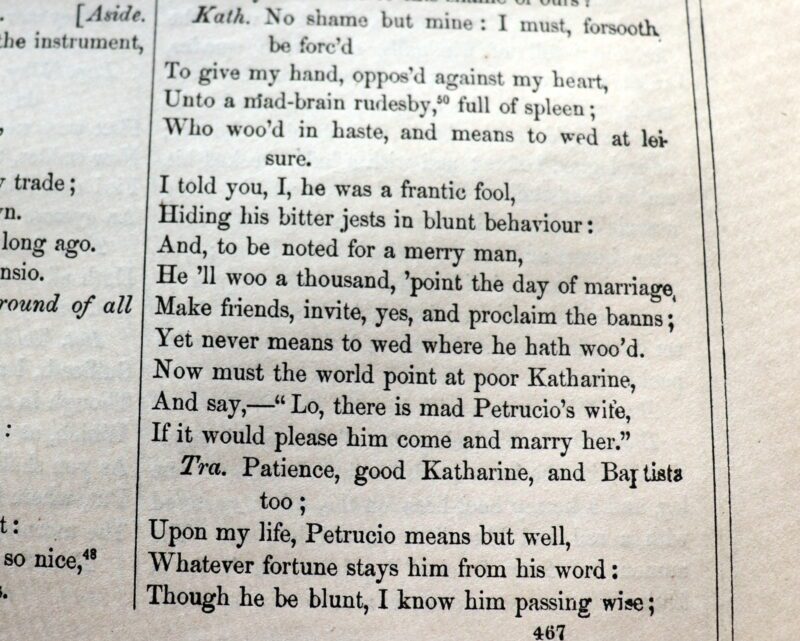
I also pay attention to the content of the book. I pass over technical manuals unless they have cool book art like old machinery engravings inside. Old dictionaries are always a good find. Especially if the pages are smooth and unmarked. Classic fiction, Shakespeare, and poetry. Folk tales and fairy tales. I always grab those.
The size of the book does not really matter to me. If the pages are nice and the book does not have a funky smell, I can use the parts for different mixed media projects. Oh, about the funky smell? It just makes me sneeze. That’s why I pass on those. The pages are probably fine.
The next step is to flip through the book pages for pictures and look at the paper quality and the binding quality. A sewn spine or sewn binding usually means higher quality book materials and the pages and print will not degrade over time. If you are looking for pages to use in art journaling, making an altered book or you are into junk journals, you want paper that will hold up to applications with a glue stick, paints, dyes, washi tape, and all the embellishments that go into these creative works of art.
What do I do with them after I find them?
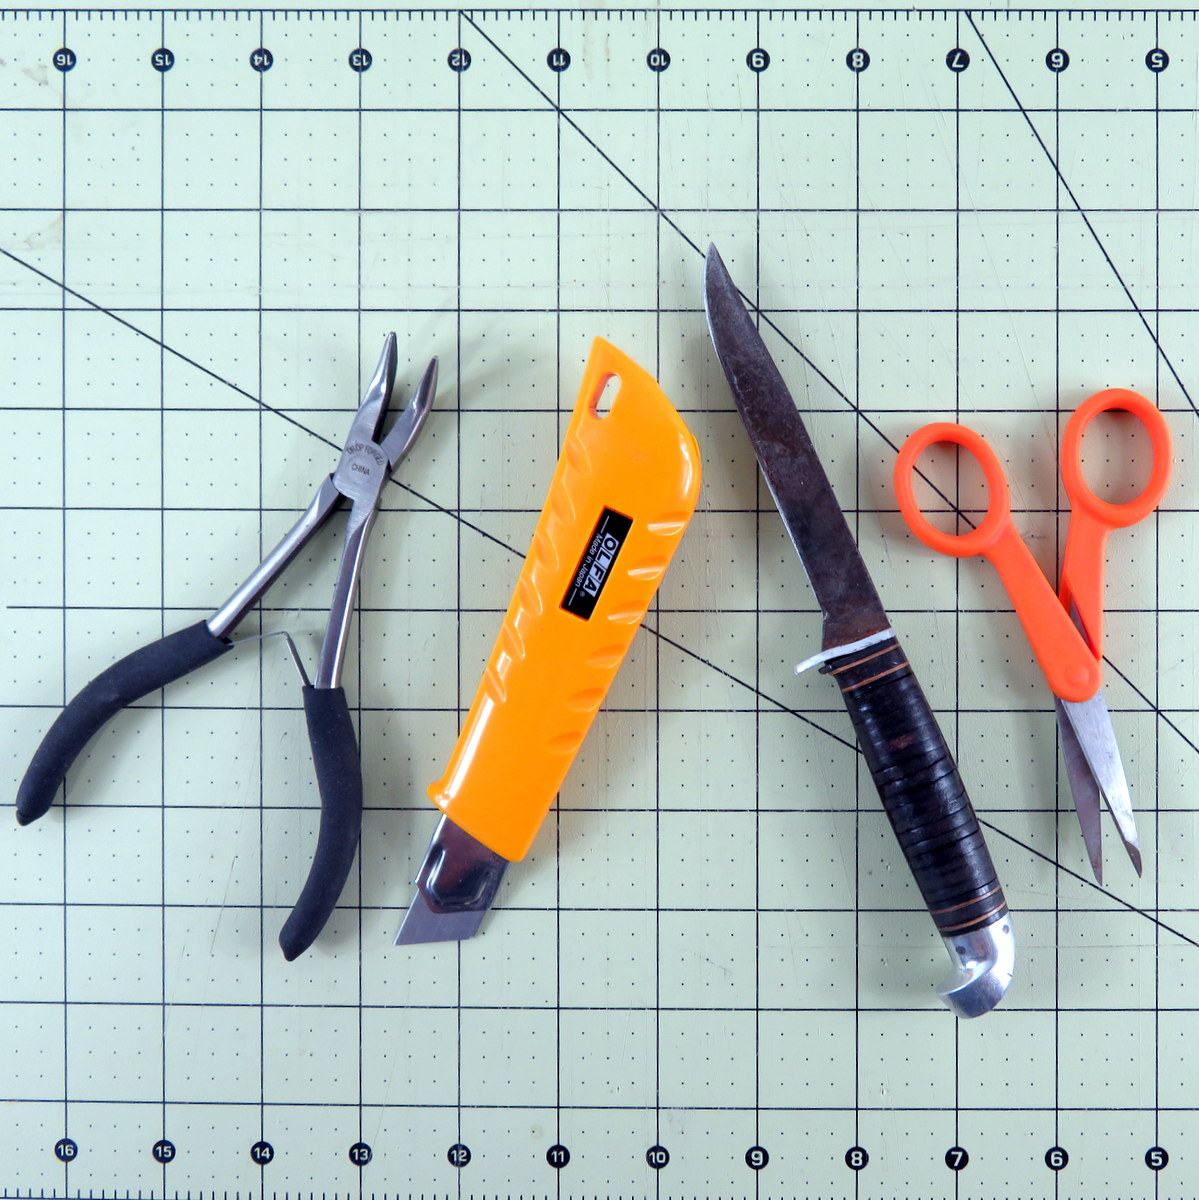
Now it’s time to dismantle the books. You will want to have a few things on hand:
- A cutting surface
- A dull-ish but strong blade knife
- A craft utility blade
- A pair of good tight pliers to grab and pull
- Small sharp snipping scissors
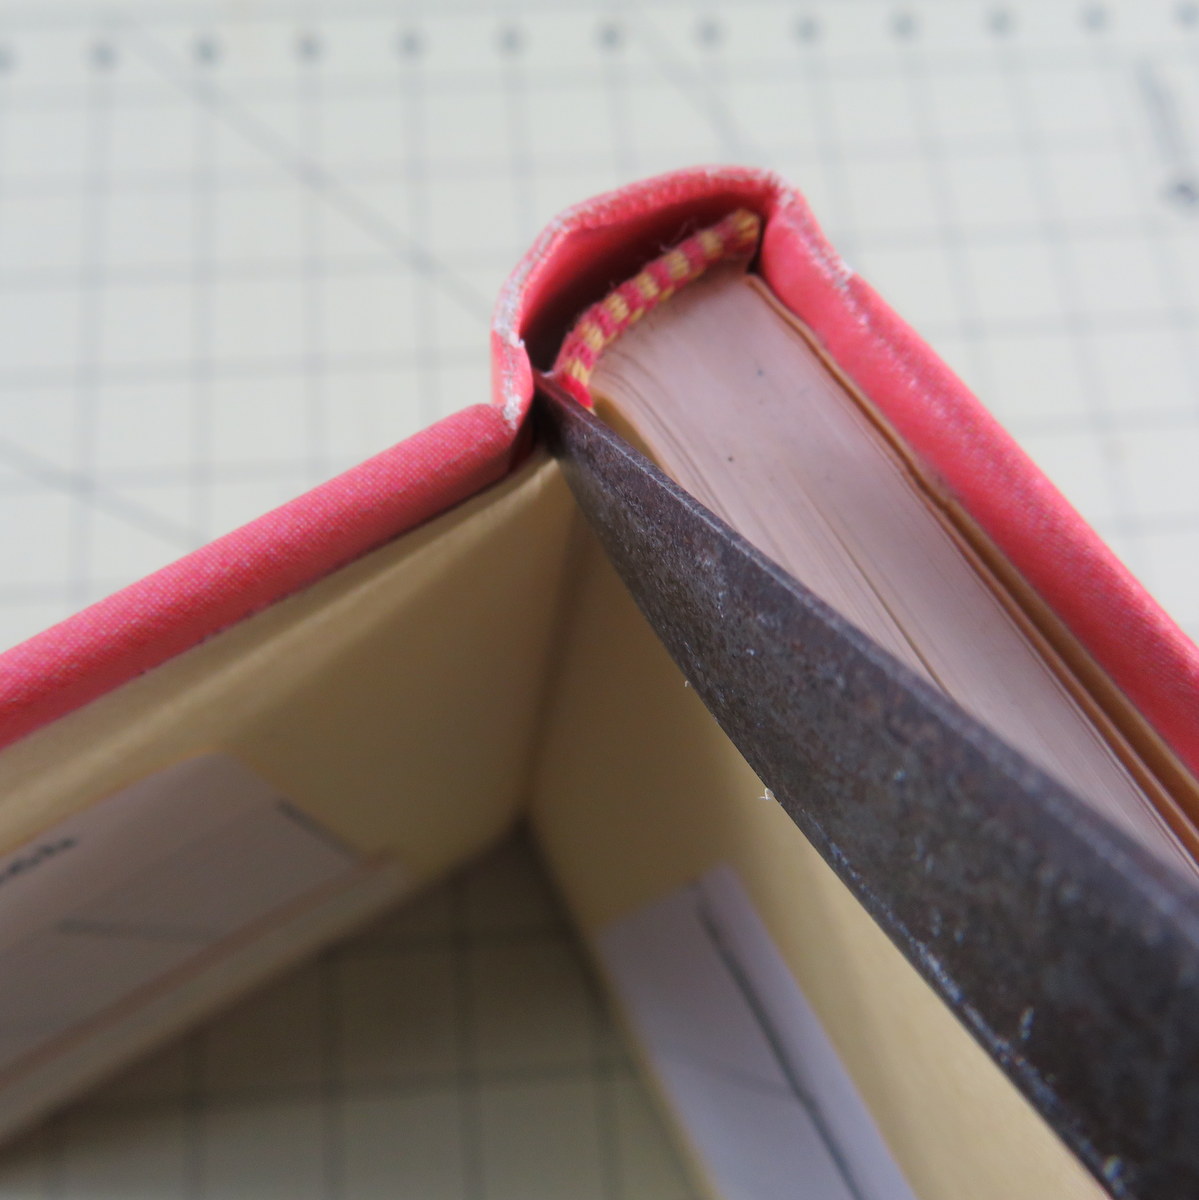
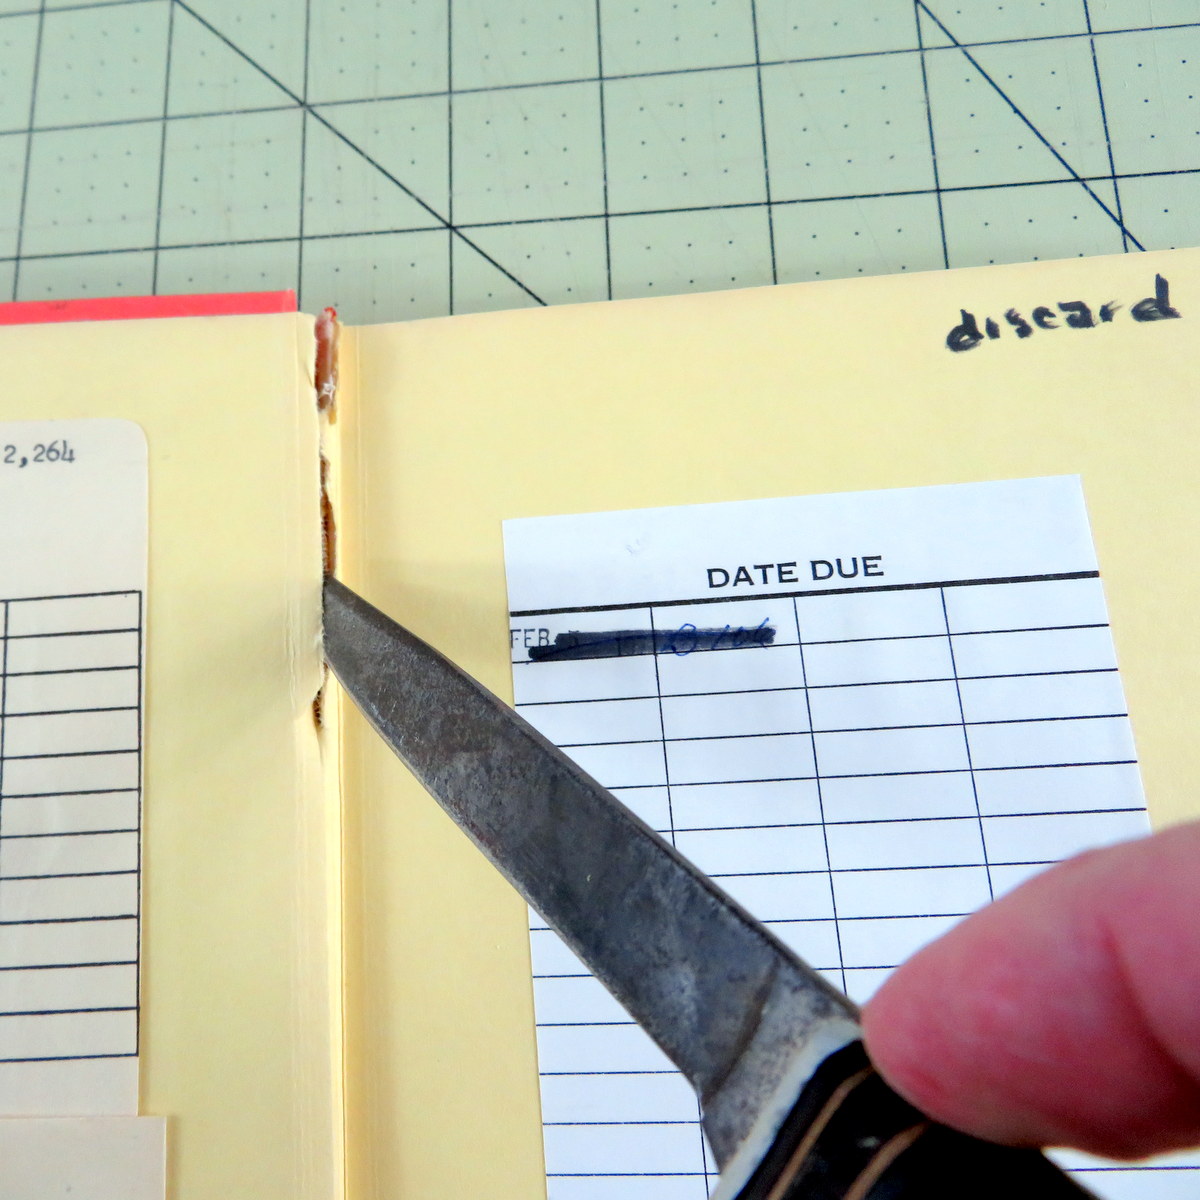
Lay the book flat on the cutting surface, and find the ‘gutter’ between the front board and the first page. It’s usually covered with ‘endpapers’. Cut down the length of the spine with the dull-ish knife, and remove the front and back cover with the spine attached. It should come off as a whole piece.
You are using a “dull-ish” knife (instead of a utility blade) because if you don’t cut through the spine, this can be used for your journal cover.
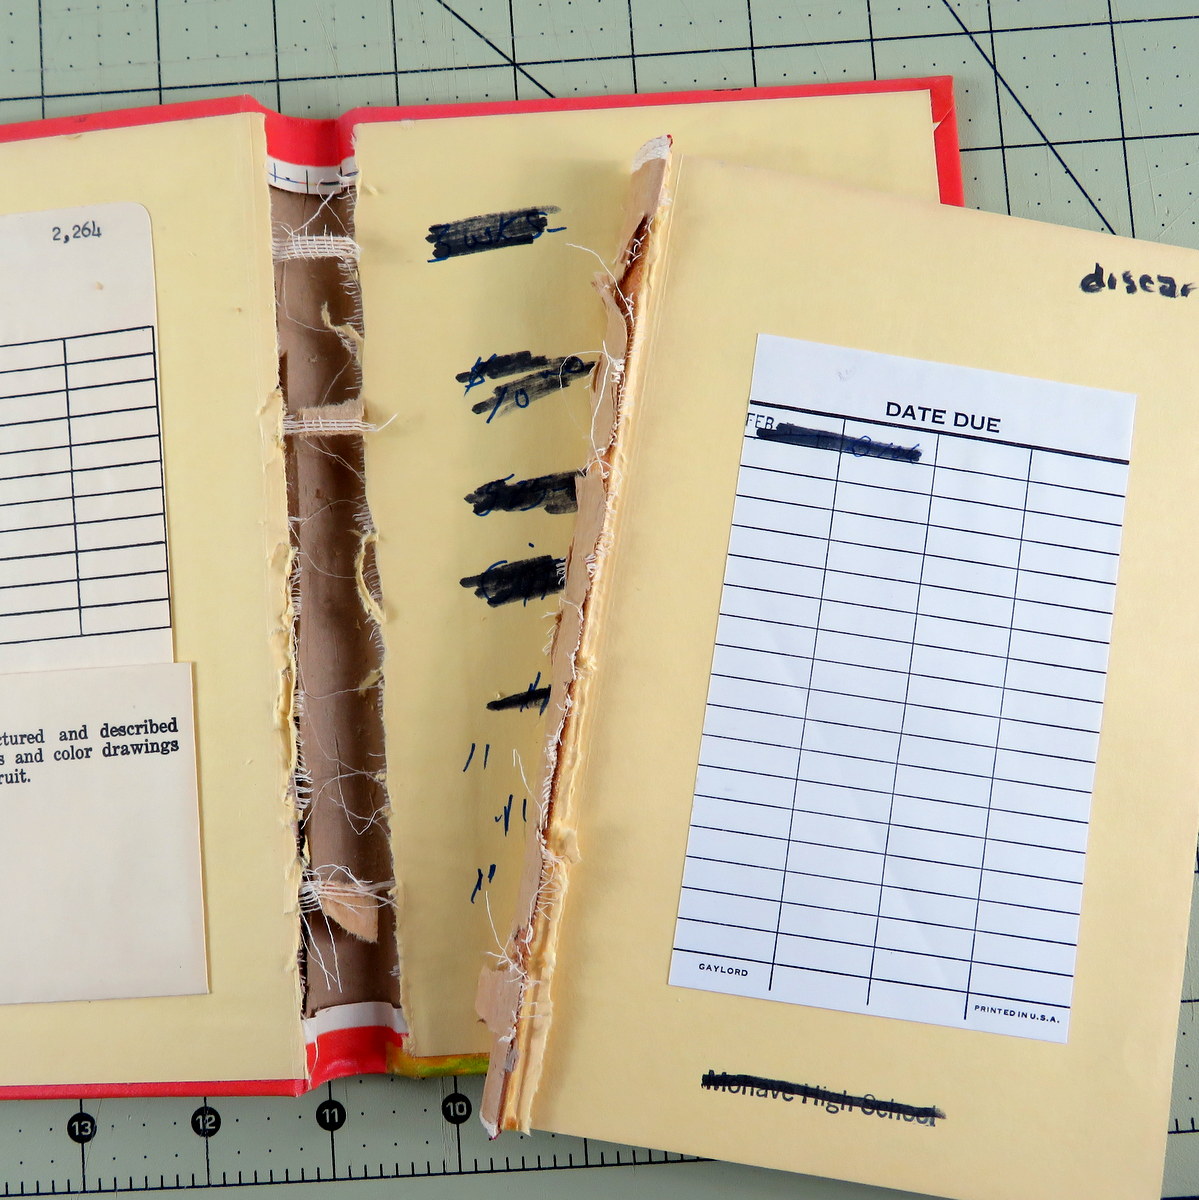
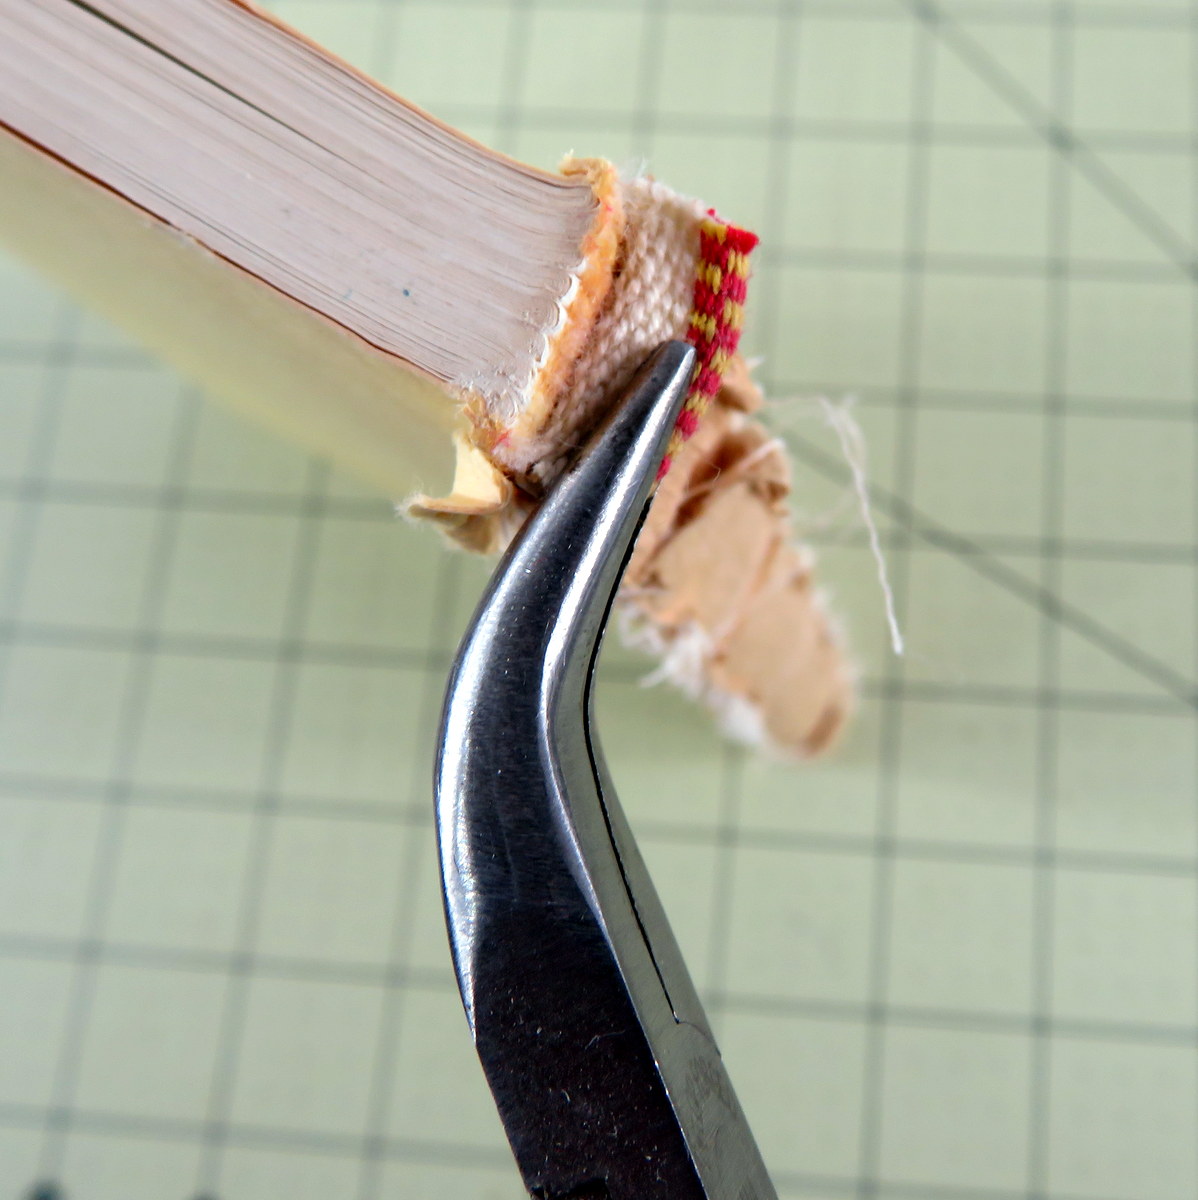
The next step is to free the spine.
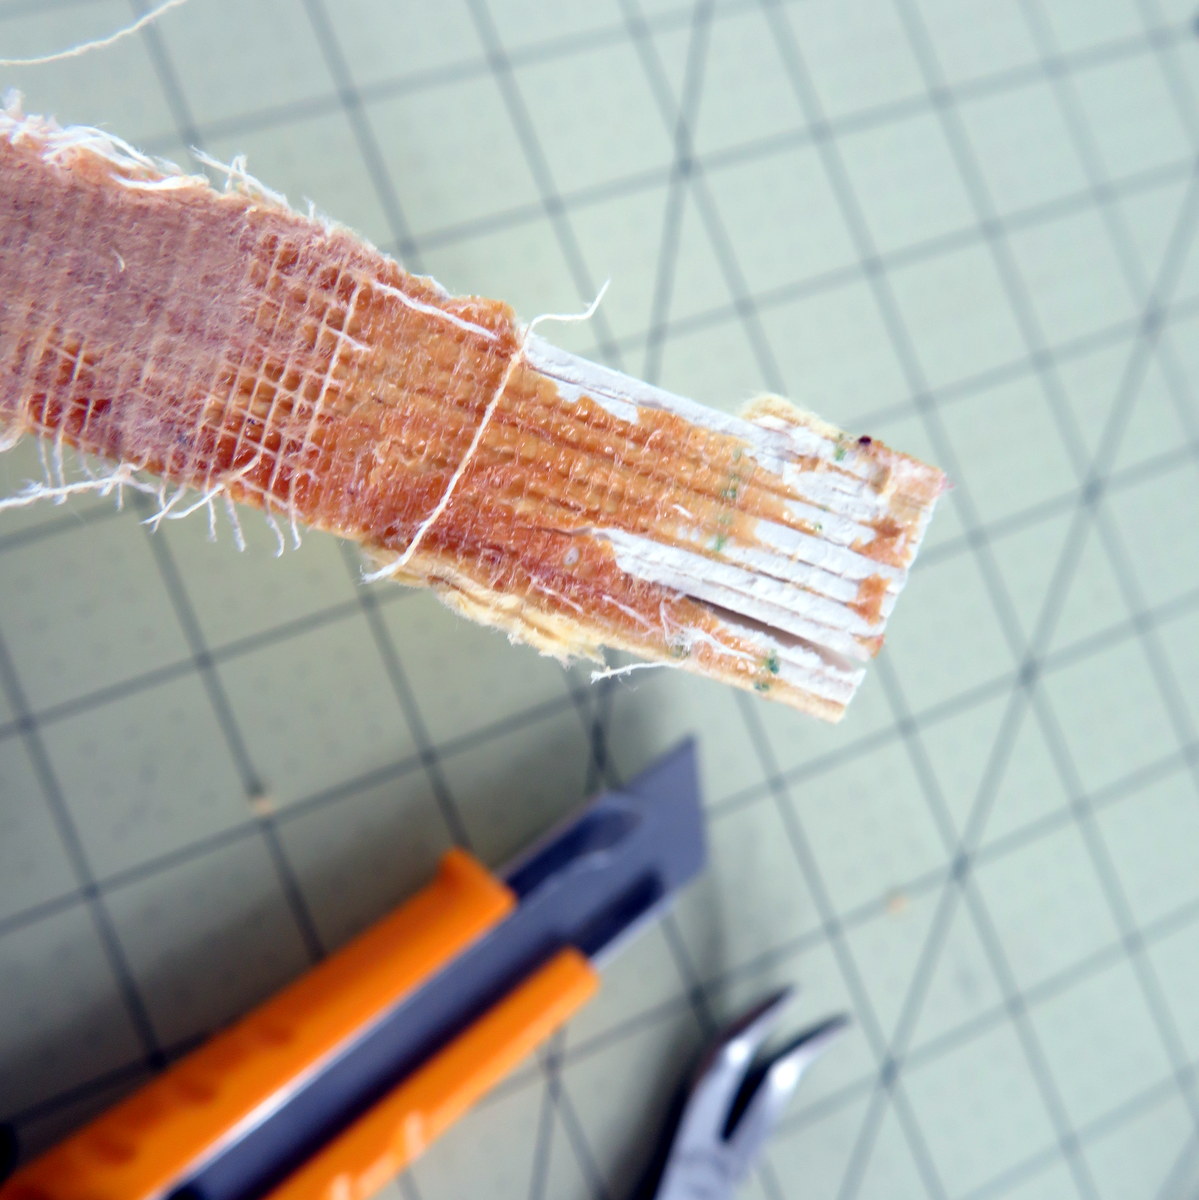
You will notice that the pages are separated into little groups. This is part of the bookbinding process. There might be a backstrap glued on, and a cloth ‘diaper’ at the top and bottom of the spine. They are tightly bound, and this is where the pliers come in. Grab the ends and pull the cloth off. Then, using the utility knife, try and scrape off as much of the residue as you can without tearing the pages.
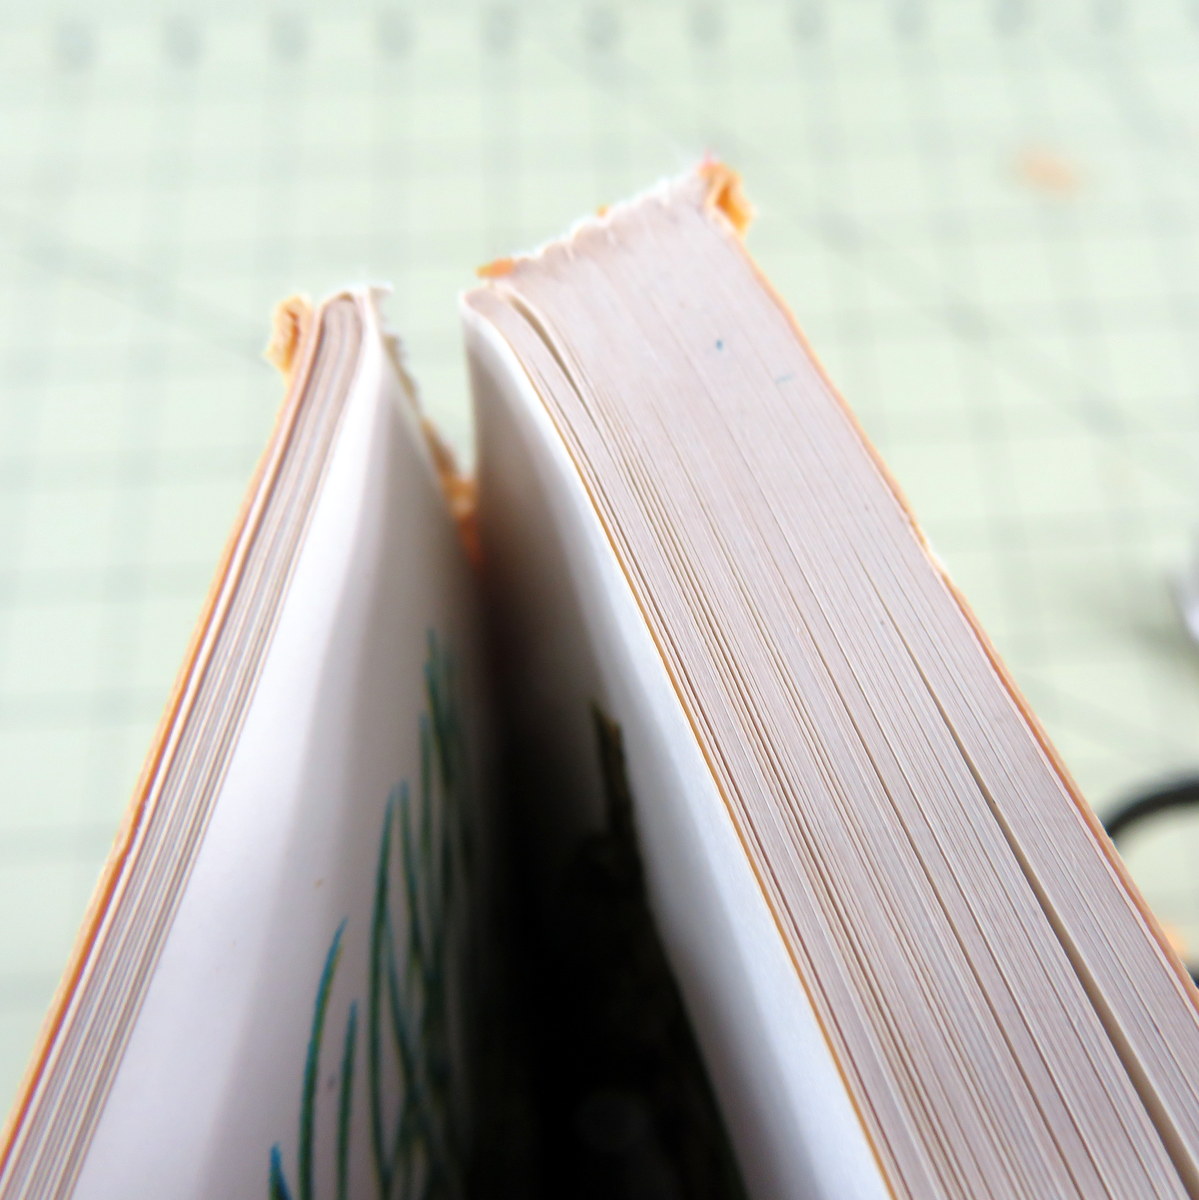
Now you can see the sections (also called ‘signatures’). You want to find the end of a section and separate it from the next section. Carefully slice through the residual glue with your utility knife, separate it out with your thumbnail, and press it open to find the natural gap. Then press it hard flat to crack the old glue, separate the sections out, breaking through the hard glue with your knife, and set them aside.
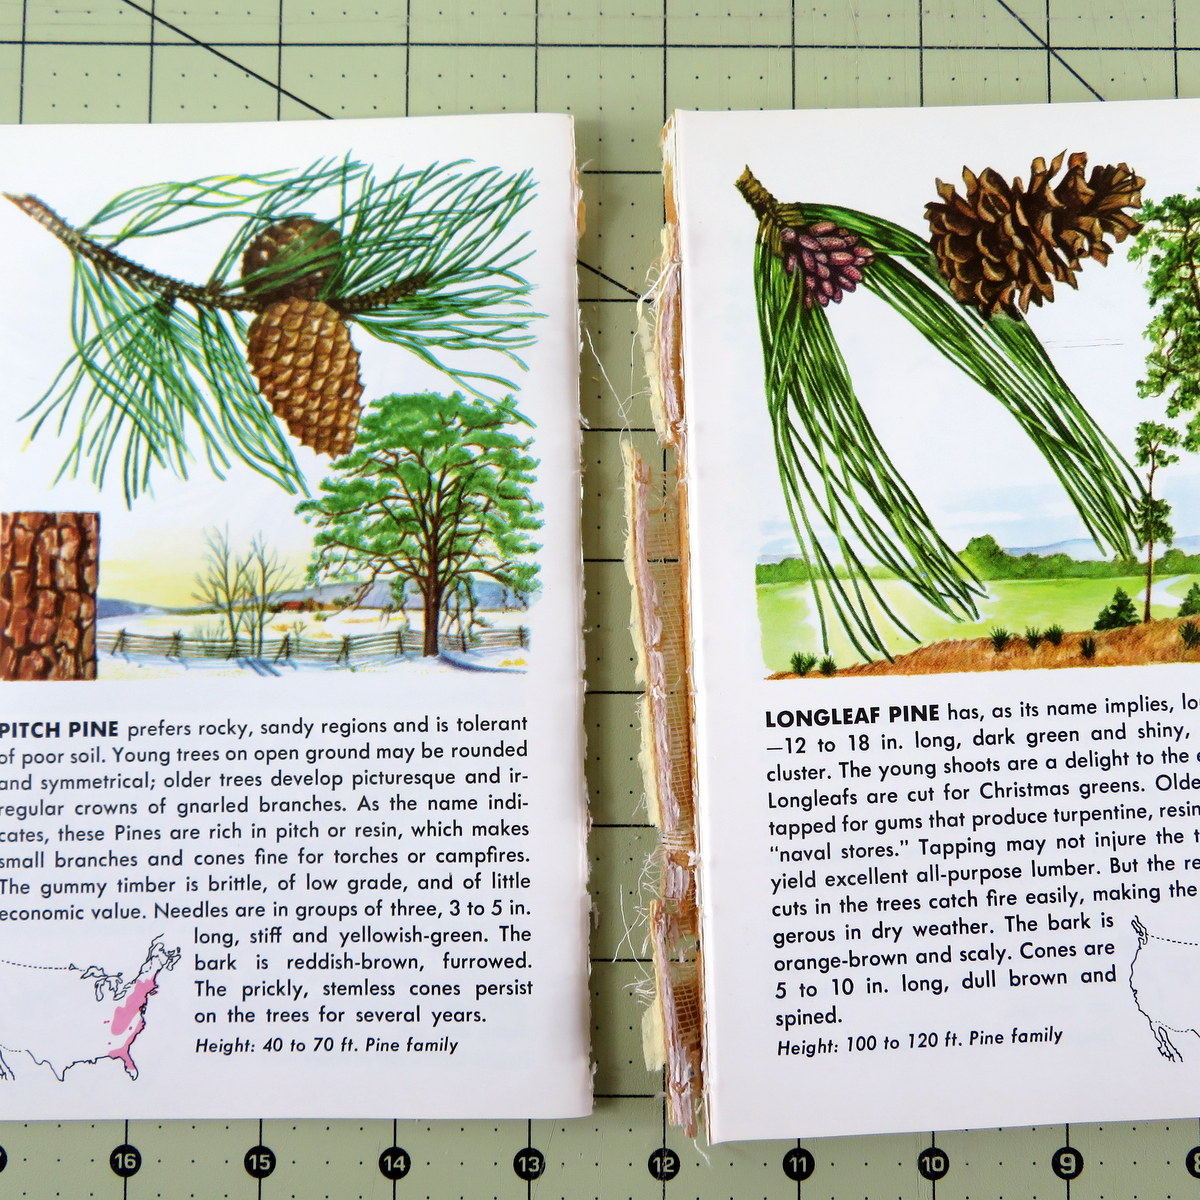
At this point, any illustrations can be removed and the text pages can be trimmed using a good guillotine-style paper cutter.
That’s it! If you take your time and dismantle it carefully, all the parts are ready for your next craft project.